TFJ: Snow Day
Welcome to the Crafty Corner! Today for the Funkie Junkie Inspiration Ave we are creating to the theme of “Snow Day”. Here I wanted to feature two different ways to create snow with Distress products.
To see a full process video, click here.
Supplies used: Sizzix Reindeer sleigh, distress glitter, distress spray stain chipped sapphire, distress sprayer, distress glaze rustic wilderness, distress watercolor cardstock, distress texture paste snowfall, distress embossing dabber, Ranger heat tool, stencil THS021, alcohol ink dura lar, Idea-ology label sticker and design tape, Tonic tiny attacher, and collage medium.
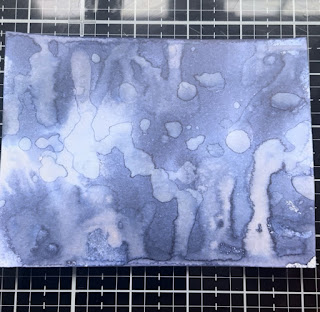
To start our wintery background I started with some distress watercolor cardstock and then spritzed it with water. After I added a few spritzes of distress spray stain chipped sapphire.
Next we will be stamping some bottle brush trees (CMS455) on some dura lar cut down to 5.5x4.25in.
Next I slid a piece of paper under the substrate before dusting some rustic wilderness distress glaze over the top. Any excess glaze was brushed off with a paintbrush.
For our second snowy technique I pulled out the stencil THS021 and spread texture paste snowfall through it on the dura lar. This gives us a beautiful icy snow. The texture paste took about 15min to dry.
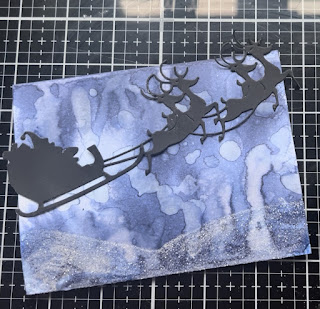
Going back to our base layer it is now time to add the main focal point. For the focal point I used the Sizzix die cut set reindeer sleigh. I die cut the deer and slay out of distress heavy black kraft stock.
Since these deer can be layered I added an icy highlight to the second layer of deer with a distress mica crayon frozen fog before gluing down the layer.
Thank you so much for joining me here today for TFJB Inspiration Ave. Until next time, happy crafting!
Janna~ 💕🎨💕
I can also be found on :
Instagram: dunhamtreasuresofthesea_jannak
YouTube: The Crafty Corner with Janna
Supplies used:
Distress Watercolor cardstock
Distress spray stain chipped sapphire
Distress texture paste snowfall
Distress glaze rustic wilderness
Distress glitter
Distress embossing ink dabber
Distress sprayer
Alcohol ink dura lar
Collage medium


Comments
Post a Comment