Hello, welcome back, and Happy New Year. To start off a new year of challenges we will be creating to the theme of “Something Old and Something New” over at the Funkie Junkie Challenge Blog. Create a card, spread, journal layout or other mixed media project using something old and something new. This could be a new to you supply or something just released. Checkout the Funkie Junkie Challenge Blog for details on entering. For this weeks theme of something old and something new I have decided to create with layers and work with embossing resist. For the something old I am delving into my stash of TH vellum scenes from last year. For the something new I am going to be using some mica spray stains and a snowflake adornment. Let’s start this new year off with some creative fun. I hope you will join in this weeks challenge over at the Funkie Junkie Challenge Blog. For video tutorial click here.
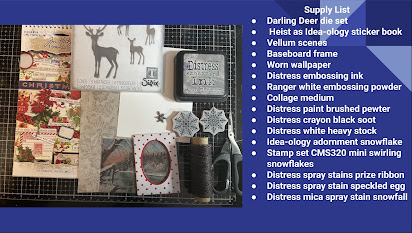
For this card I used the following: Distress white heavy cardstock, distress spray stains speckled egg, and, prize ribbon, and distress mica spray stain snowfall, distress paint brushed pewter, distress crayon black soot, stamp set CMS320 mini swirling snowflakes, texture paste, Ranger pallet knife, thick board fame, darling deer die set, snowflake Idea-ology adornment, vellum scene, Christmas Idea-ology stickers, and worn wall paper.
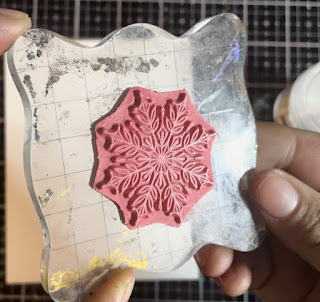
This card is going to start with an embossing resist which will require Distress embossing ink Ranger white embossing powder.
When stamping with distress embossing ink I always give the stamp a little tilt in the light to make sure I have good coverage with the distress embossing ink.
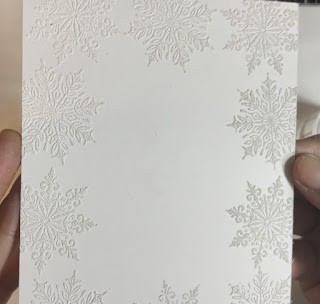
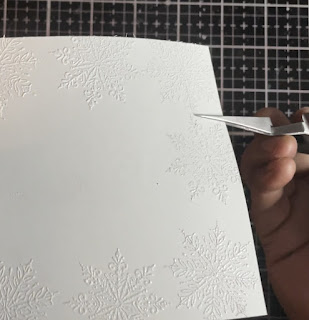
I then stamped a frame of snowflakes around the edge of the card base using two different snowflakes.
When embossing with the heat gun I used the pair of Sizzix squeezers to hold onto the paper to keep my fingers away from the heat.
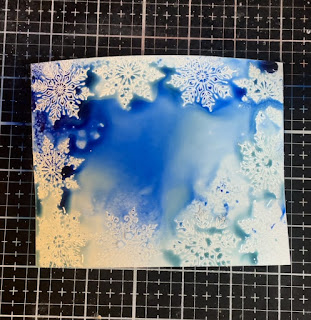
With the embossing complete it is now time to get to the resist part of this technique. Since the snowflakes are embossed with white embossing powder distress spray stain will not stick to them when sprayed. For sprays on the first layer I used speckled egg and prize ribbon.
After drying the first layer with the Ranger heat tool I then added in a touch of distress mica spray stain snowfall. I also added some random drips of water with the distress sprayer for a more distressed look.
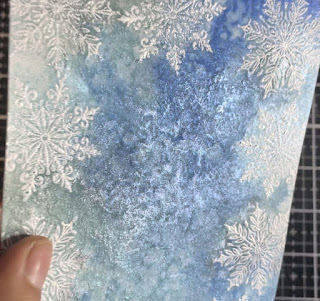
Below is a photo showing some of the shimmer from snowfall.
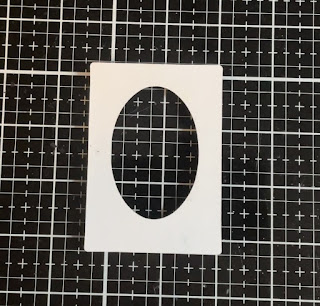
Now setting aside the background it is time to alter this base board frame.
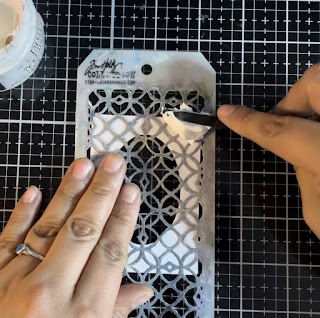
To alter this baseboard frame I decided to use some distress texture paste mat and a stencil to add some texture. Used stencil THS019.
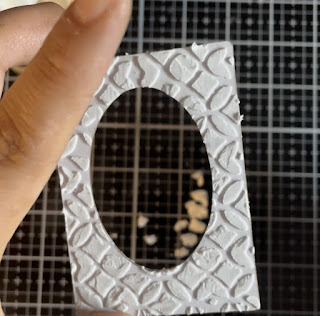
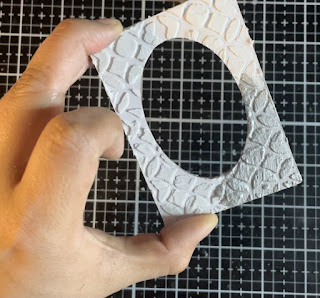
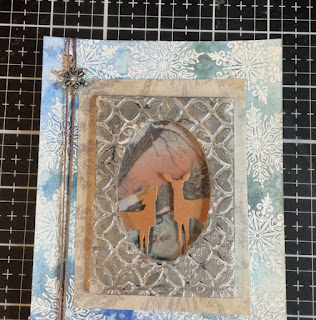
Here are the finished results from the texture paste and the stencil.
Once the texture paste was dry I then added some brushed pewter distress paint over the top.
Once the distress paint was dry I then added some black soot distress crayon over the top and smudged it in with my fingers.
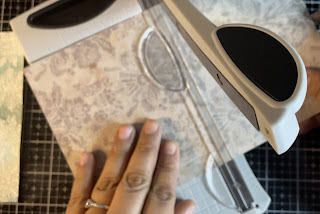
Now it is time to build some layers. For the first layer on the card base I cut some worn wall paper down to a 3x4in rectangle and placed it in the center of the card base. For trimming I am using the new Tim Holtz mini paper trimmer. Just the perfect sized tool to fit on a craft desk.
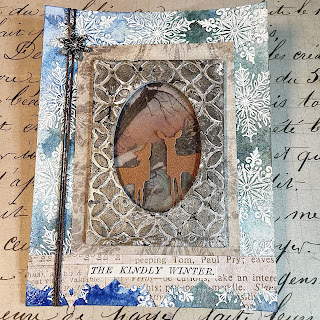
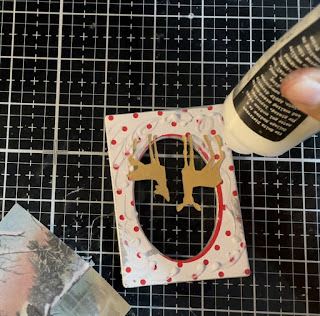
Here I have die cut out to of the small deer from the darling deer die set. These I have placed into the bottom of the altered baseboard frame with some collage medium.
Then I cut down one of the Idea-ology vellum scenes to fit behind the baseboard frame.
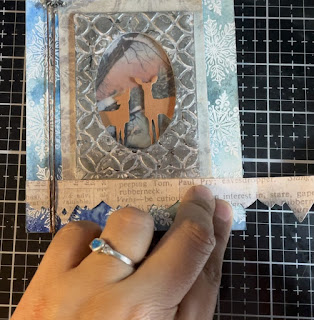
Now time to add some embellishments. On the side of this card I added an Idea-ology snowflake adornment and some forest brown twine.
Then I added a small paper scrap at the base of the card to act as a landing stirp for a sentiment.
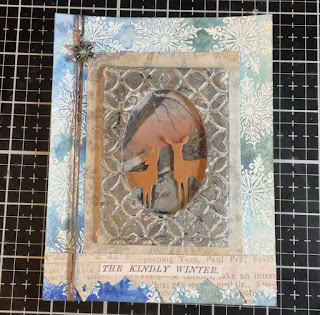
Finished this card off with a sentiment from the Christmas Idea-ology sticker book. Making this card was lots of fun combining the new and old. Hope the New Year brings much creativity and joy.


Janna what lovely framed image and the texture in the layers is beautiful!
ReplyDeleteGorgeous layers! I especially love the snowflake layer, and it's almost too pretty to cover up! So happy you shared it with us before adding the gorgeous layers over top.
ReplyDelete