Welcome to another crafty challenge for the
The Funkie Junkie Boutique This weeks theme and description is:
Snarky, Sassy and Silly Summer Fun "Is the summer heat getting to you like it is me? Don't get me wrong, I LOVE summer...But, sometimes the heat can make me feel a little extra sassy! Show me your love of all things sassy, snarky, and just plain silly! I love a good bit of snark, so make me laugh!” Join me as I take you through the construction of my snarky, sassy, silly summer fun make for the Funkie Junkie DT make. When I think of silly and sassy my mind immediately gets a little snarky. So of course this card is featuring a Tim Holtz Snarky cat. Bellow is my take on snarky, sassy, silly summer fun. As always there is also a companion YouTube video to this blog post, click here for video instruction.
To start the card we will first start on our purmaid tail. A purmaid is a combination of a cat and mermaid melded together. For this step we will need an assortment of distress glazes, tag or other substrate, distress grit paste, scales stencil TMHS140, palette knife, and embossing gun.
First I added grit paste to the tag with my palette knife and smoothed it out. After applying the texture past through the tag I immediately slipped the stencil into a tub of water. Nothing is worse than cleaning off caked on texture paste!
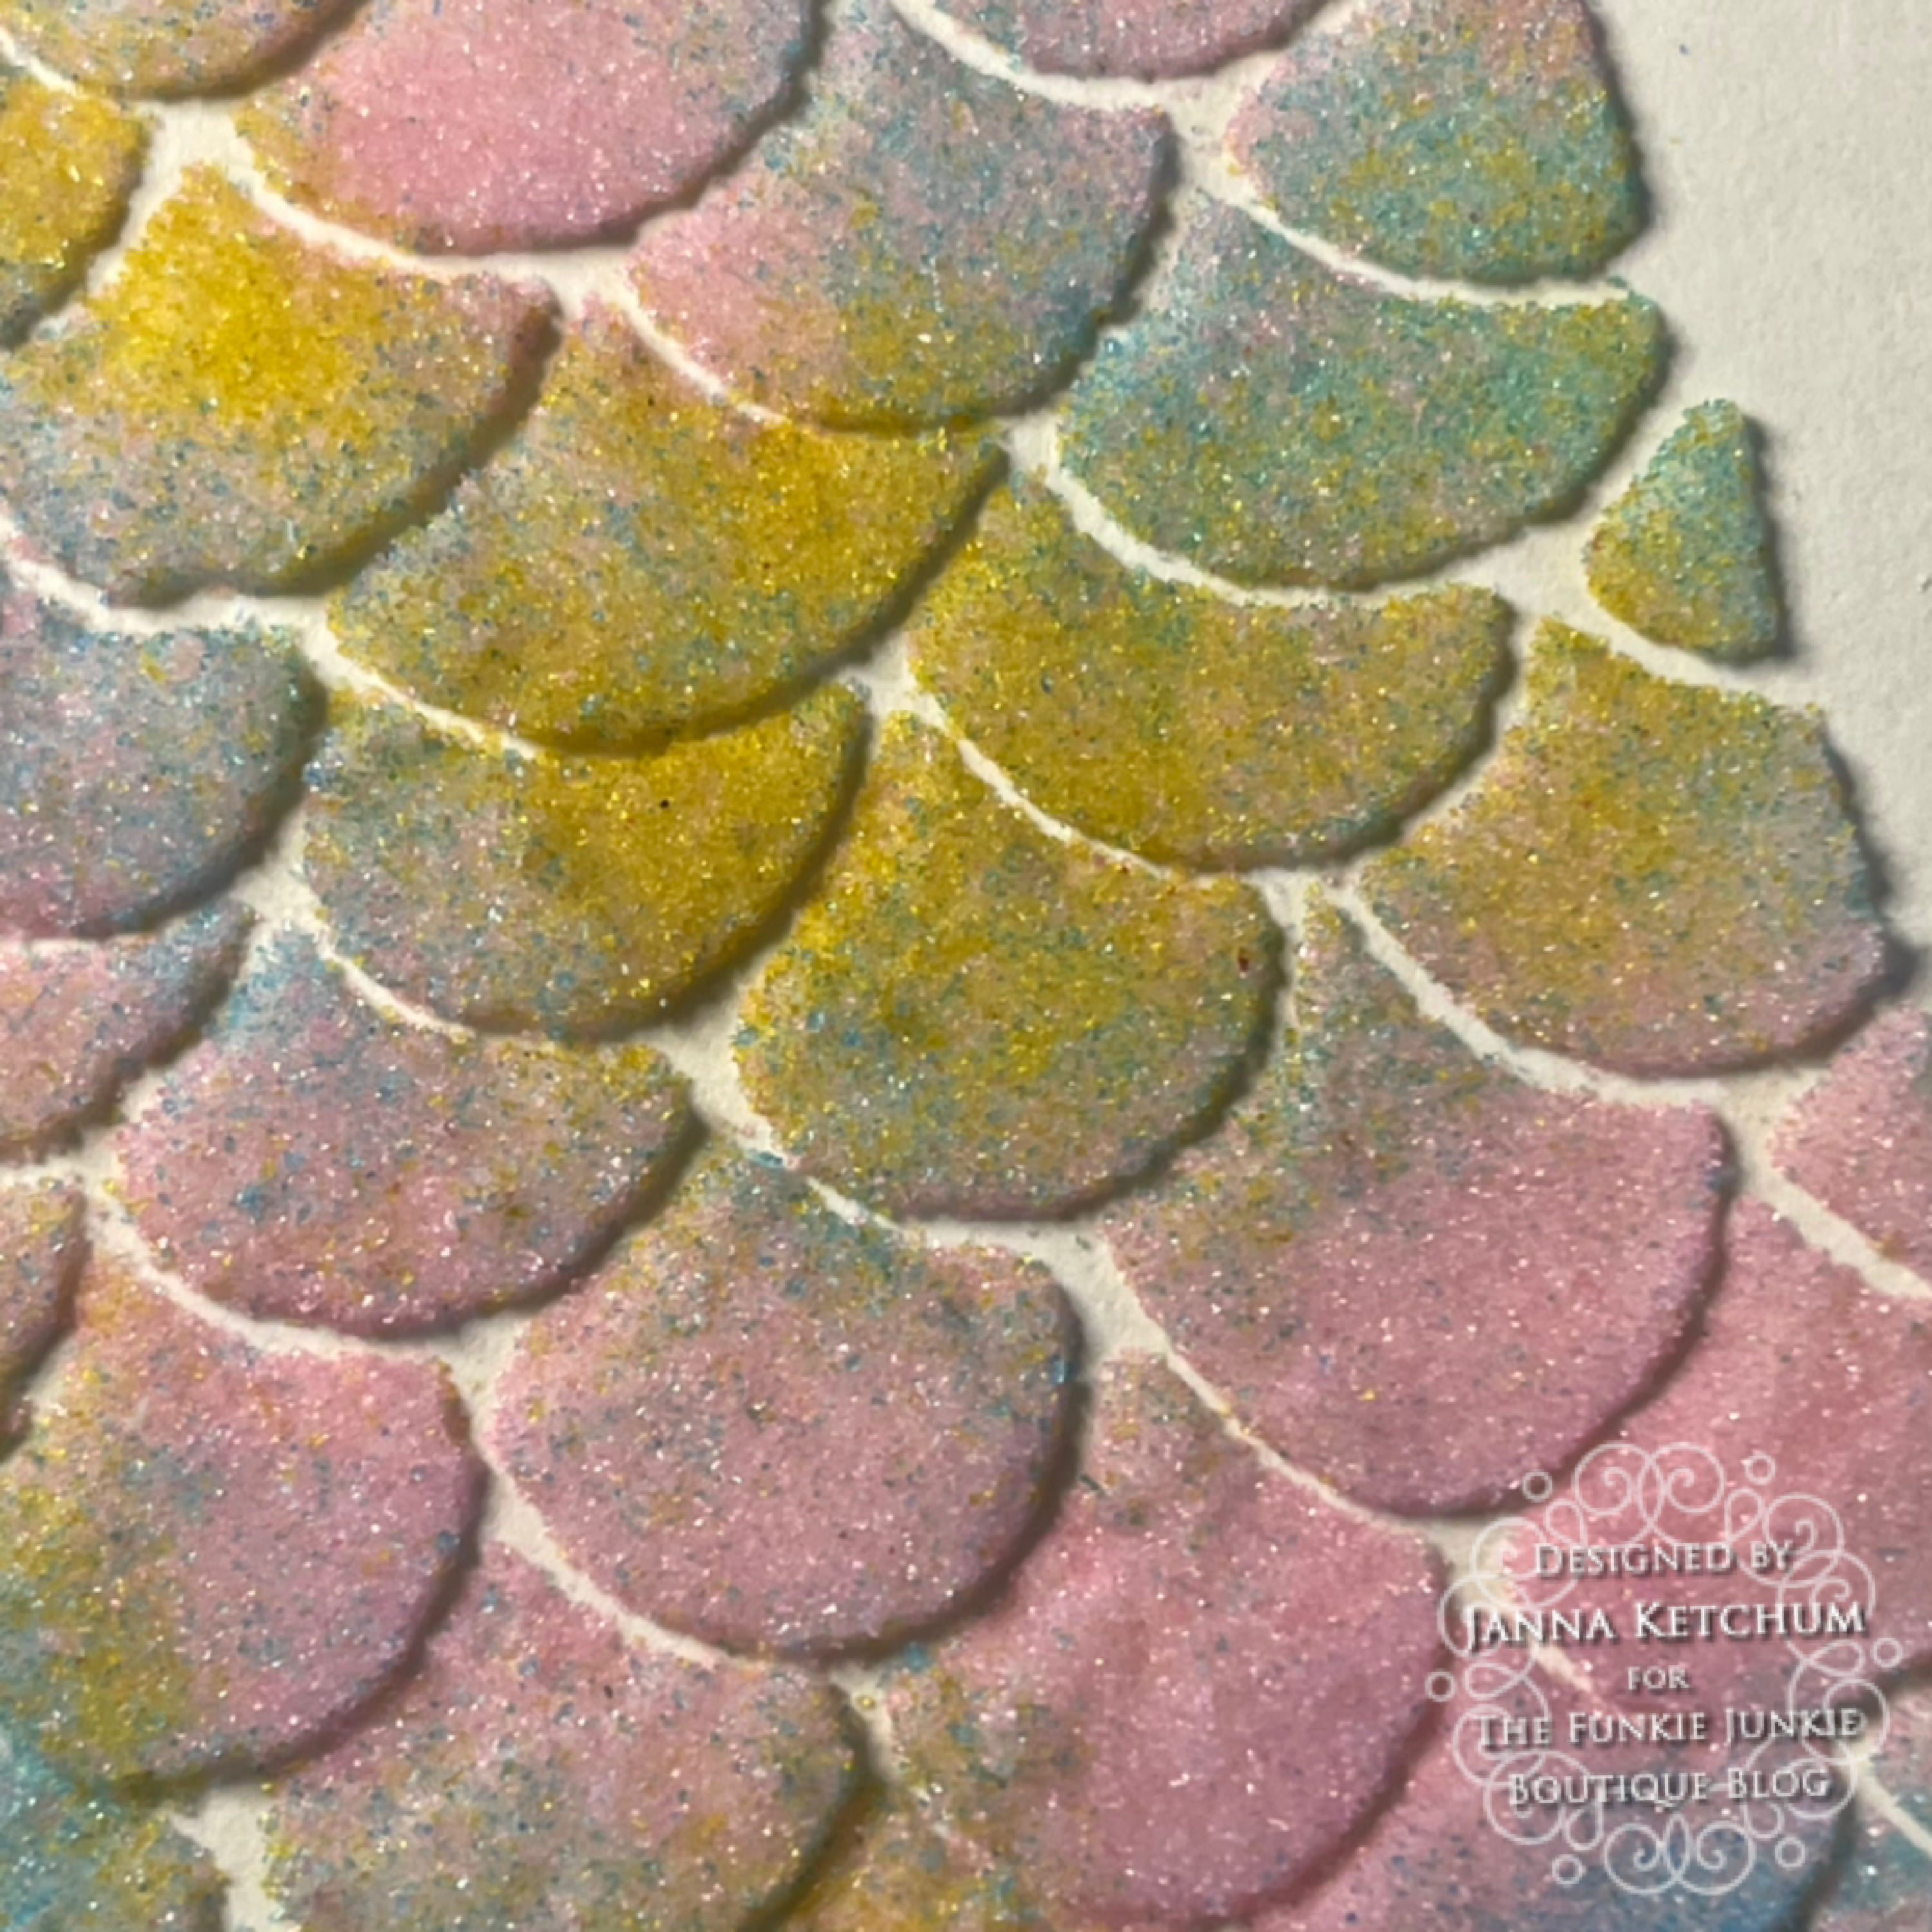
Next I sprinkled distress glaze over the top of the grit paste. Since I was going for rainbow tail scales I used kitsch flamingo, broken china, salvaged patina, and fossilized amber distress glazes. To start I placed my tag over some scrap paper. Then I sprinkled the distress glazes onto the tag to make rainbow gradient. Next tapping the back of the tag let the powders mix and spread over the tag to for a rainbow of scales. After I let the grit paste dry for about half an hour. Depending on where you live this may take more or less time. I have found the higher the humidity in the air the longer it takes for wet mediums to dry. I try to keep me craft room at 30% humidity with a dehumidifier.
Once the grit paste was dry I embossed with an embossing gun. I love how textured the scales look over the grit paste.
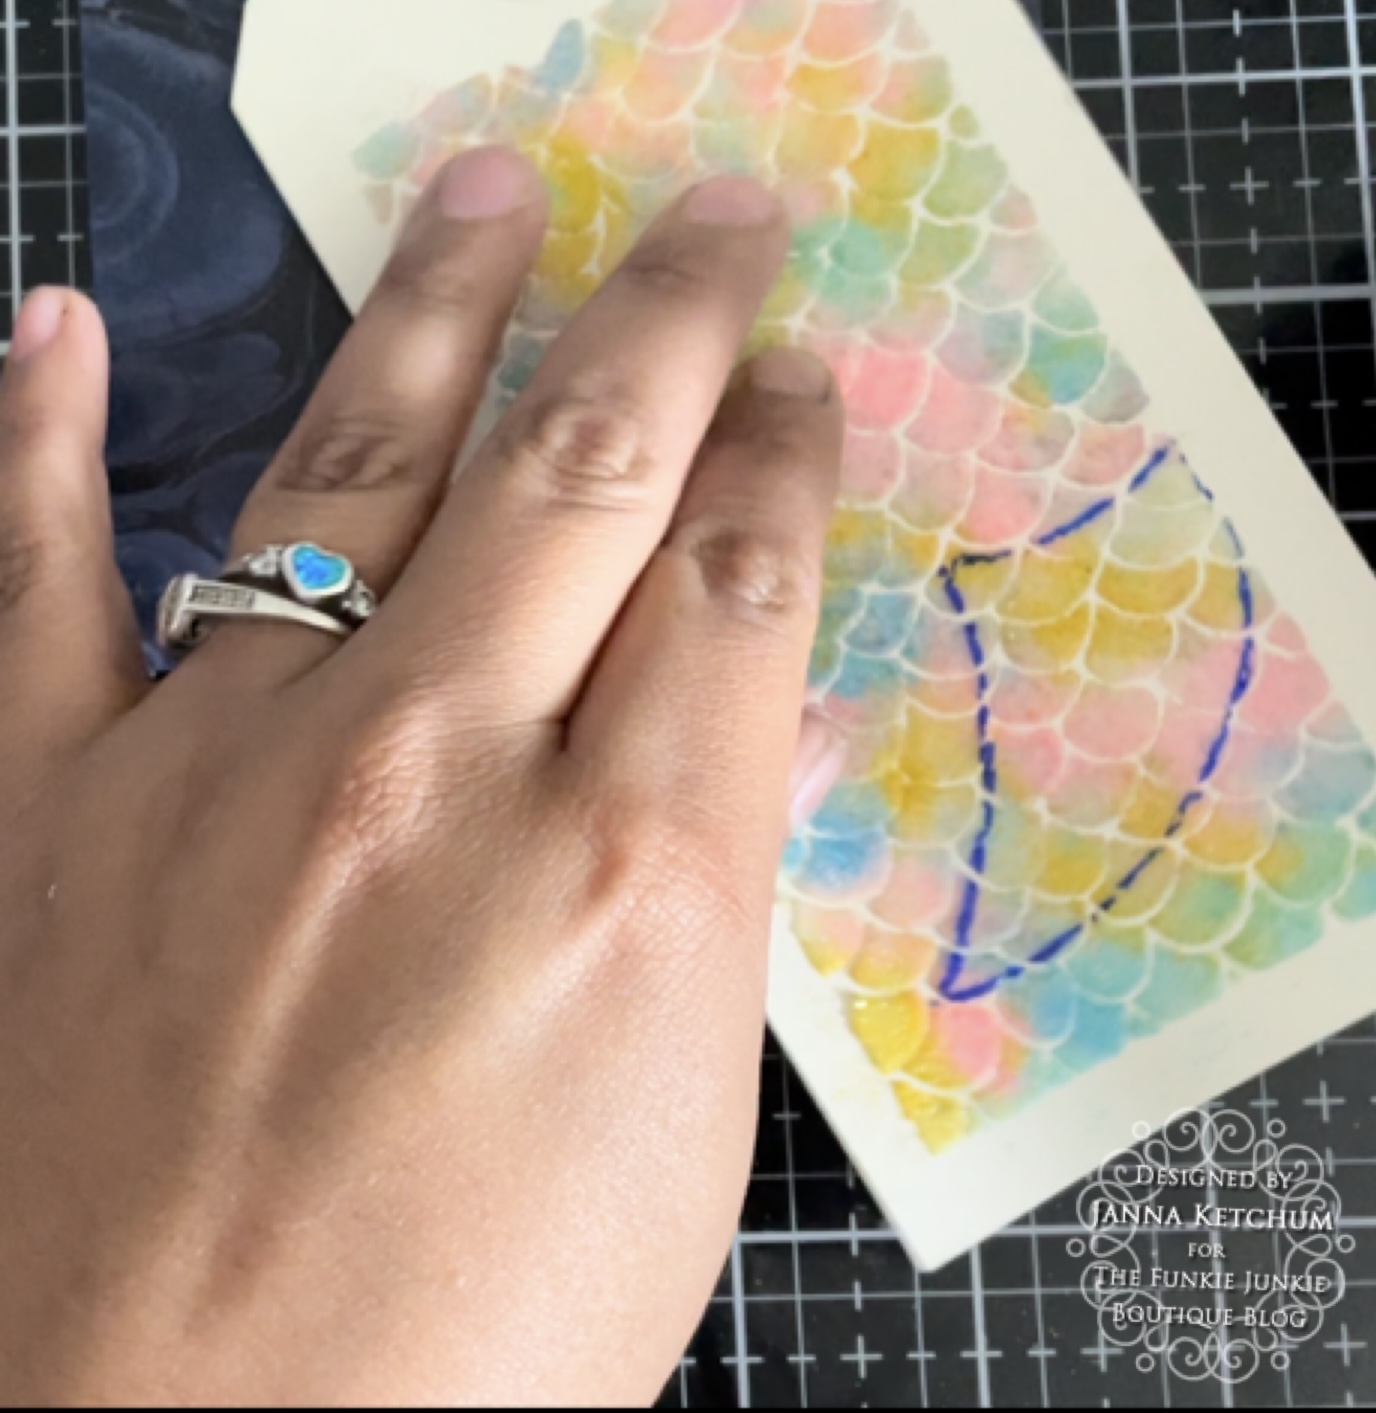
Next I drew my tail shape on the tag. I just love how the distress embossing glazes mix to get a rainbow of color. I did draw the tail with a sharpie. Once the tail was cut out I used a little bit of rubbing alcohol to erase any of my blue lines that were still one the tail.
Once the tail was cut out I rubbed some walnut stain distress ink over the scales to give them some more definition.
For the fins of the tail I cut about 3 inches of crepe paper.
Then I stained the crepe paper with salvaged patina distress spray and dried it with my ranger heat tool. Once dry I fan folded the colored crepe paper.
Next I will attach the tail fins to the rest of the tail with some collage medium. I held the tail fins in place with my fingers for about 20 seconds to give the collage medium time to adhere.

Now to make the background for this card. To start I cut a piece of paper from the Tim Holtz Idea-Ology paper pack 1 set to 4.25in x 5.5in. Then using some dome foam blenders I ink blended in some additional colors over the background. I started with chipped sapphire up in the top left hand corner and worked diagonally down to the bottom right hand corner with blueprint sketch, wilted violet, and then dusty concord.
This is probably my favorite part of the card. For this section of the card I will be using the Tim Holtz stamp and paint layering technique. Here I used a snarky cat stamp, a stamping platform, scrap paper, TH water brush, distress ink picket fence, distress paints spiced marmalade, picket fence, and vintage photo. For video instruction on this section click
here and go to 00:06:34 in the video.
To stamp out the snarky cat I first stamped with distress picket fence to give myself a rough outline of where the cat was on the paper. I used the scrap paper as a mask to hide the bottom part of the cat and the tail.
Then I blocked in the spiced marmalade and picket fence colors. This is the ugly stage of the technique, but don't worry it gets better when more paint gets layered and the details get stamped back in.
Once my main colors were down I then stamped with distress archival black soot to get the detailed outlines of the cat.
Next I filled in the details of the cat and then stamped one more time with the archival ink.
While letting the snarky cat air dry I then started making some coral pieces for the bottom of the card. To do this I repurposed some Funkie Cactus dies in warm colors from the TH Idea-Ology warm and cool colors kraft stock packs. I die cut several of the Funkie Cactus and assembled the pieces with collage medium.
Then I started playing around with the arrangement of the die cut pieces on the bottom of the card.
Now to add the tail of our purmaid. I decided to have some of the cacti in front of the purmaid and some in the background. Then I glued all of my pieces down with collage medium.
Then I die cut out my sentiment using Alpha Numeric Tiny Type by Sizzix and Tim Holtz. The die cuts I then placed on a 1in x 3.5in banner I hand cut from some scraps. To make putting the letters on a little bit easier I stuck some double sided tape to my metallic card stock before die cutting it.
And now for the finishing touches of this card. Any guesses to where this card is headed? Here I am painting a little cartoon sea animal. I used pumice stone, picket fence, and black soot distress paint as well as a TH water brush.
Between layers and colors I did dry the paint with the Ranger Heat tool.
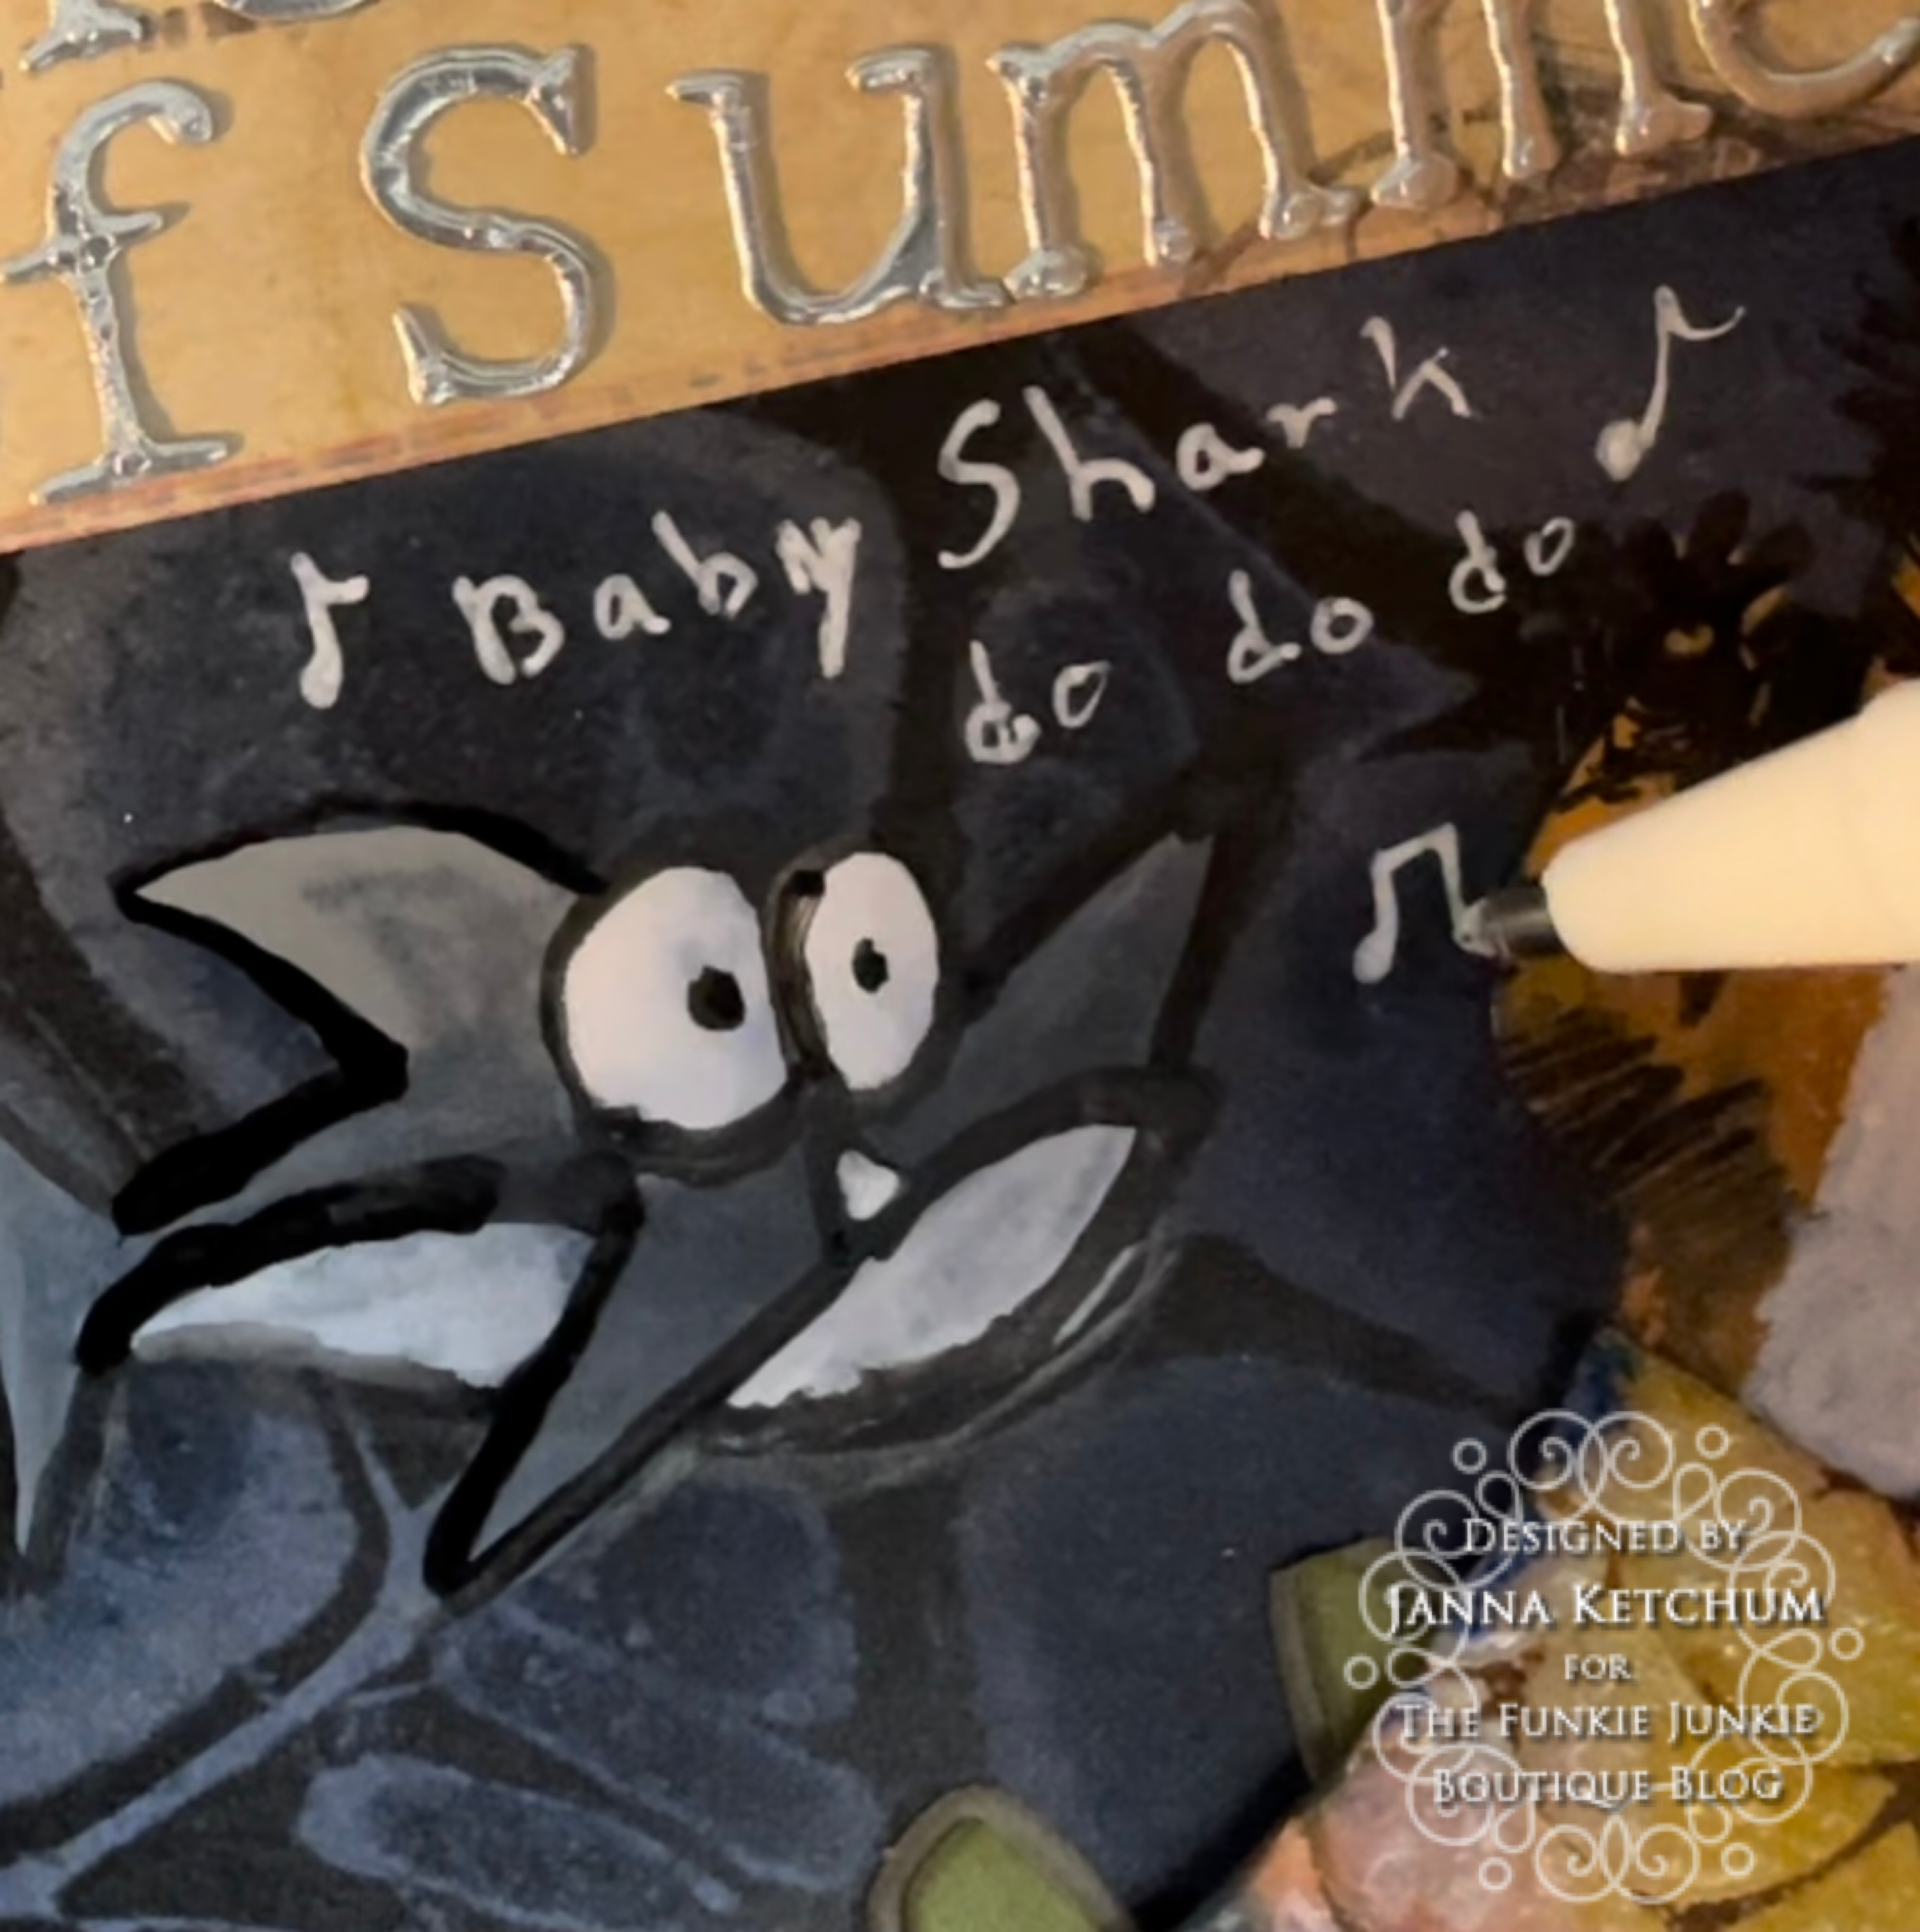
As my last detail on this little shark I outlined it with black soot distress paint trying to give it a very cartoony look.
Now if you haven't figured out the significance of the shark. I wrote it out for you! I did the writing with a geli roll white gel pen. As a parent a certain song almost drove myself and my husband crazy last summer. That song was literally everywhere and "Baby Shark" has become the sound of summer.
I think snarky cat below shares my opinion of the song and couldn't be more perfect for a snarky, sassy, silly summer fun crafting challenge. I hope you have enjoyed this snarky, sassy, silly summer fun card. I that you will join the Funkie Junkie challenge for
Snarky, Sassy and Silly Summer Fun and I look forward to seeing all of your wonderful makes. Until next time happy crafting.


This is hilarious! Brilliant mix of mermaid tail with the cat face! Love the silliness and inspiration!
ReplyDeleteThank you! I love mixing and matching some of my favorite things.💕🎨
DeleteJanna, this is so creative! I love how you made the purmaid tail and used the paint under the stamping on the cat portion. Thank you for sharing your techniques with us!
ReplyDeleteThank you so much! I love mixing distress glaze and translucent grit paste for different effects.💕🎨
Delete