Wearable Distress Art
Wearable Distress Art
Do you ever have backgrounds that you absolutely love and don't want to part with? I can relate I have a giant stash of backgrounds that I made during this year's 2021 Tim Holtz Q and A demos.
To get started and turn your art into pieces you love you will need the following supplies. (Optional craft pick tool)
These are the bezel pieces that I chose to work with. We are going to turn some distress and alcohol inked backgrounds into a set of earrings, a bracelet, and a pendant. I found this fantastic bezel and cabochon set on Amazon.com (Not affiliated or sponsored.)
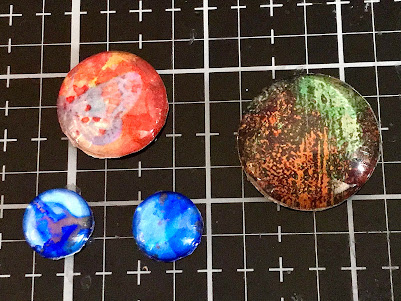
Next cut around the glued cabochons. I like to give my self a fairly wide margin to work with before trimming to closely to the glass cabochons. After take a nail file and gently sand off any overhanging paper or adhesive. Your finished cabochons should look smooth with no paper hanging over the edge of the glass.
The last step is to add some more glossy accents to the back of the cabochons. Once added press firmly into the meatal bezel. If the cabochon doesn't fit sand off more paper from around the edges or adhesive, there might be a small drip. Place finished bezels under a heavy book and leave to set for 1-2 hours. Now these pieces are ready to wear!


Comments
Post a Comment