Hello and welcome to this week’s TFJ Inspiration Avenue blog. This week we are creating to the theme of “Pastes and paint”.
For this week’s theme I have decided to create some texture on a card and discuss several distress paint techniques. For full process video click here.

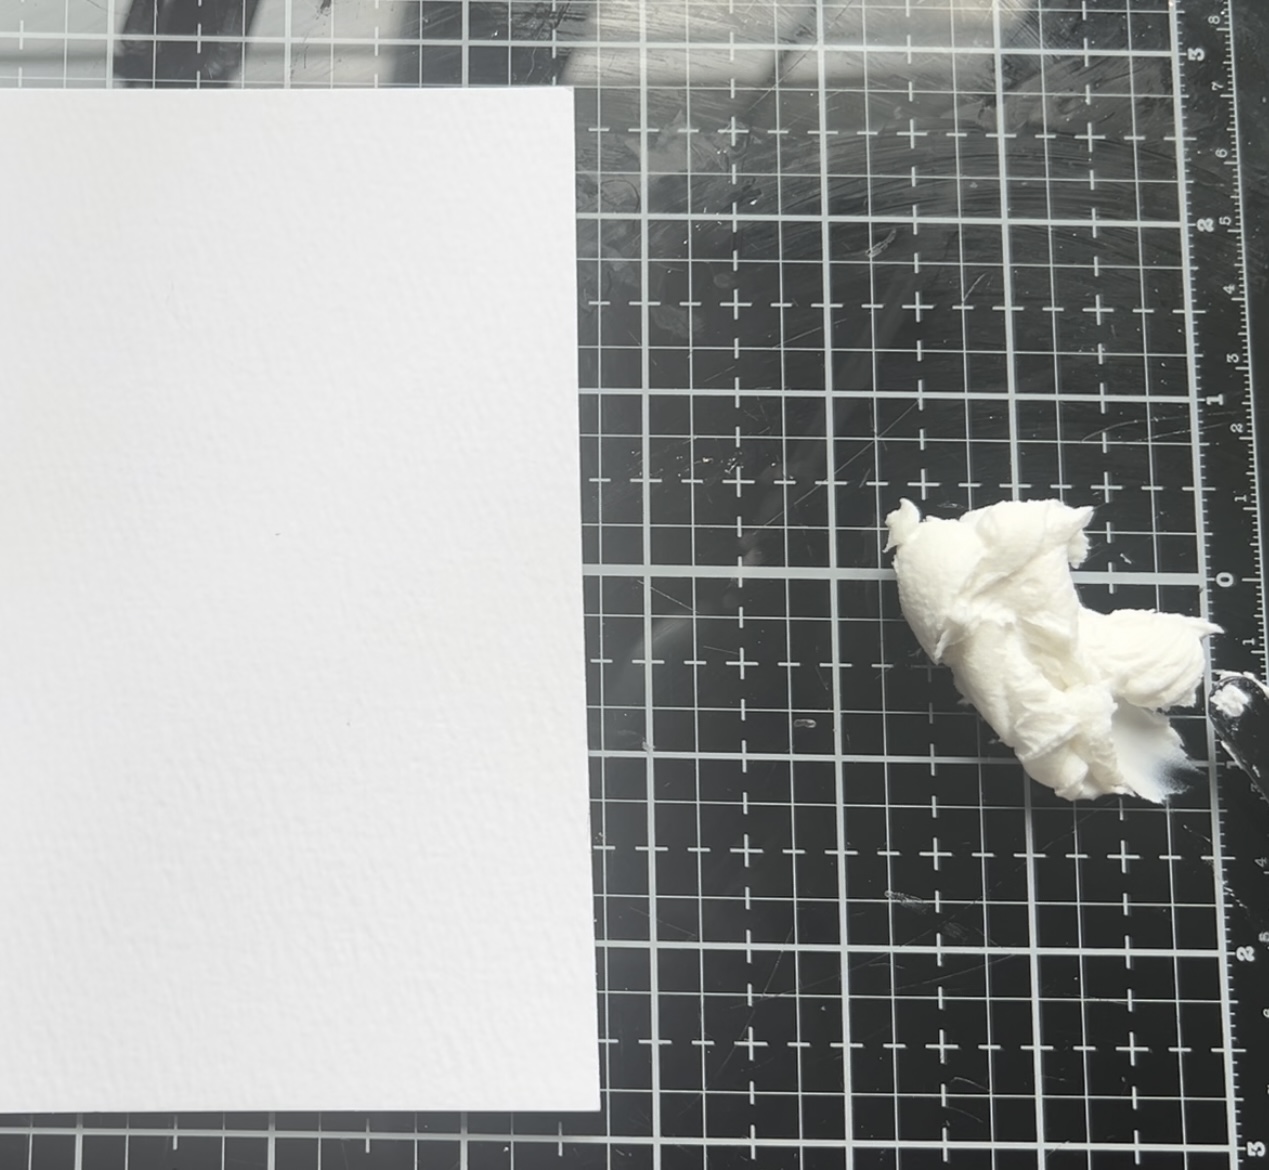
For this week’s project I used he following supplies featuring paints and pastes.
For the first paint technique we will be doing some paint marbling with distress paints chipped sapphire, broken china, and tumbled glass. First I added some paint drops to the media mat and then spritzed with water. I will be using a mixed media tag as the substrate and spritzed the tag with water too.
Then I swiped the tag through the paint on the media mat. This is the first dip. After the first swipe I then dried it with the Ranger heat too.
Now one of the really cool things about distress paint is that once it is dry it cannot be activated again with water. This means that we can add other layers over the top and not change the base layer with the paint. Here I have added some peacock feathers distress ink and some scorched timber distress oxide to the media mat and spritzed with water.
With the tag I then dipped into the ink and dried in a series of three to four times. This is using the classic inky dip and dry technique to add inky splotches and splatters to a substrate. Below is the finished outcome of layering paints with distress inks.
To finish off this tag we will be adding a layer of stencilling with distress until peacock feathers and the mini TH stencil THS162. For stencilling I used a mini blending tool and some dome foam.
Below are the finished results.
For the next technique we are going to dry brush some distress paint onto a mixed media tag. First I added some drops of ink in the colors broken china and tumbled glass.
I then dry brushed these colors onto the tag using one of the TH collage brushes. I love how the collage brush gives leaves behind visible brush marks.
After I stencilled with the mini stencil THMS059 and some chipped sapphire paint to add a layer of circles on the tag.
Once the layer of stencilling dried I then added a second layer of circles over the top with a layer of distress paste sparkle.
The sparkle paste goes on opaque, but dries to clear with sparkles. Love how the sparkle looks over the layers of paint.
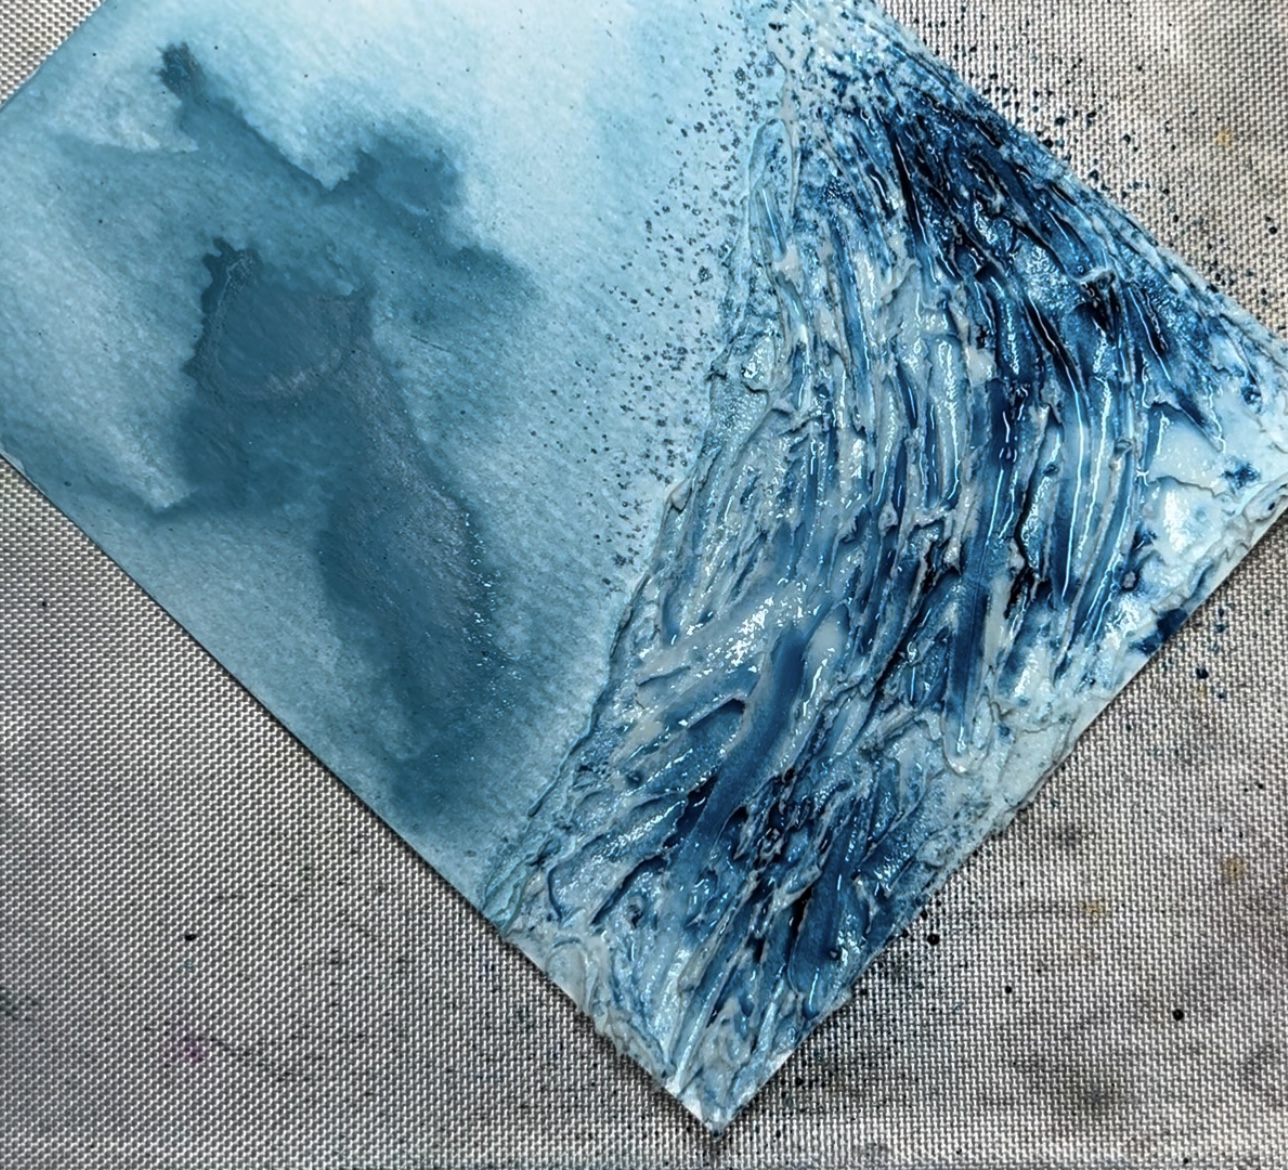
Next I wanted to create a card that used a combination of paints and pastes. To start I brought in a base of distress watercolor cardstock and some distress texture paste mat opaque.
First I colored the texture paste with a couple of drops of distress paint tumbled glass. I mixed the paint with the texture paste using the Ranger pallet knife. After I applied it to the base of the watercolor cardstock in the shape of a wave. I then textured the wave using the edge of the pallet knife. The texture paste took about 45min to dry.
After the texture paste was dry I added a thin layer of gilding glue to the ridges of the waves. This glue is specific to gilding flakes. For best results let glue dry until tacky and then add gilding flakes.
While waiting for the glue to dry I added a wash of distress paint broken china to the top part of the card. This will become the sky over the ocean.
I then dried the paint with the Ranger heat tool and then added a slash of juniper berry distress mica spray tot he wave for some added color depth.
This was my favourite part of the card, adding the gilding flakes. I took flakes out of the jar and then brushed them onto the waves with a dry brush.
Then I added some embossing ink in the sky to add in a few clouds and ocean spray with white embossing powder.
Below are the two tags that we used different paint and texture paste techniques with.
This is the completed card feature in paints and pastes. For finishing touches I did add a couple of word stickers form the Idea-ology clippings sticker book and drew in three little birds with a brush nib pen.
Thank you so much for joining me here today at TFJ inspiration ave and until next time, happy crafting!
Janna~ 💕🎨💕
I can also be found on :
Instagram: @treasuresofthesea_jannak
YouTube: The Crafty Corner with Janna
Used:
Distress Paint Broken China https://www.thefunkiejunkie.com/Tim_Holtz_Distress_Paint_Broken_China_TDF52944_p/tdf52944.htm
Distress Ink Peacock Feathers https://www.thefunkiejunkie.com/Distress_Ink_Pad_Peacock_Feathers_TIM34933_p/tim34933.htm
Distress Ink Scorched Timber https://www.thefunkiejunkie.com/Distress_Ink_Pad_Scorched_Timber_TIM83443_p/tim83443.htm
Stencils TMS059 https://www.thefunkiejunkie.com/Tim_Holtz_Mini_Layering_Stencil_Set_MST059_p/mst059.htm


Comments
Post a Comment